Exhibitor Online Ordering


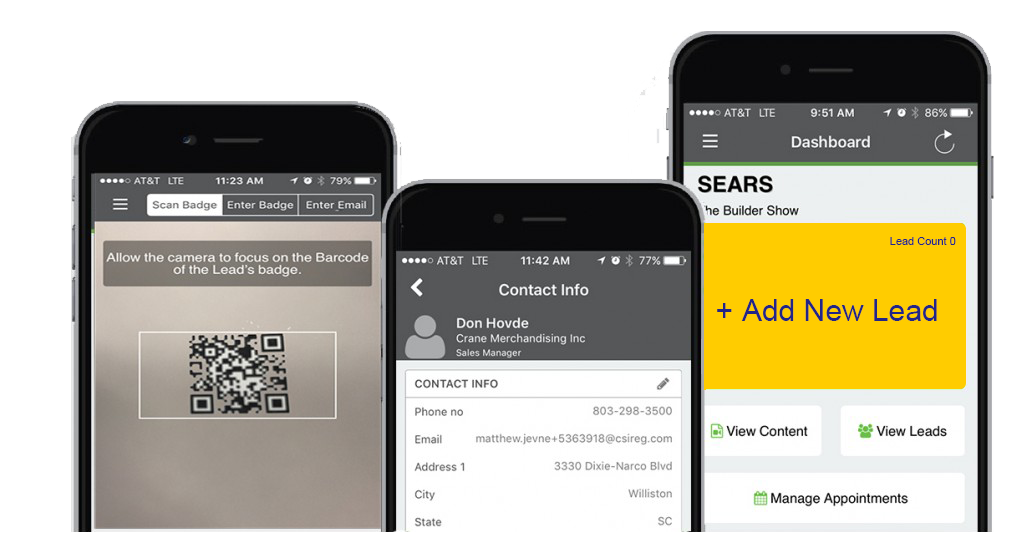
Lead Capture
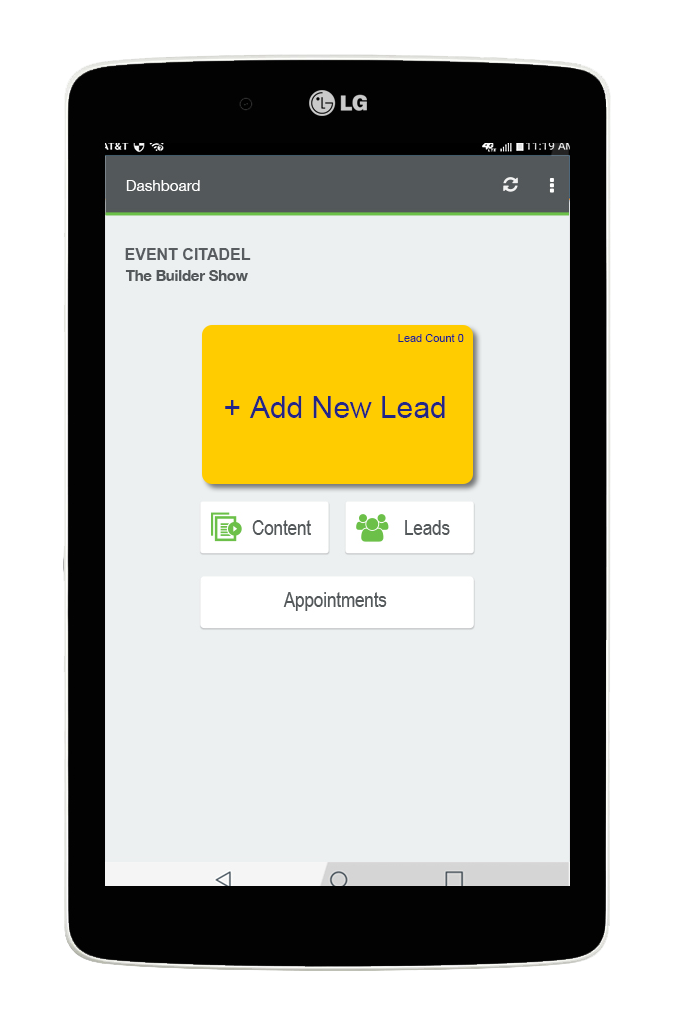
CompuLEAD® Tablet
A rental LG tablet equipped with the CompuLEAD app that allows you to scan badges both on and off the event floor.
BENEFITS:
Lead Capture
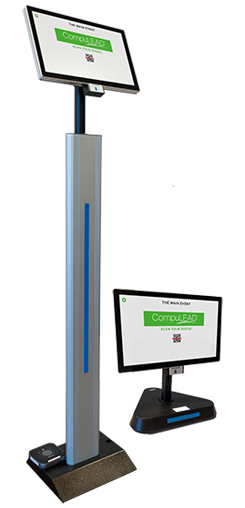
CompuLEAD® Kiosk
The CompuLEAD Lead Capture app is a powerful and easy way to capture sales leads. Its versatile nature is perfect for using the app on your own phone or tablet, allowing you to capture leads anywhere around the event.
BENEFITS:

DVHOLO™ 3D Holograms
Give Your Exhibitors a Show-Stopping Advantage
Give exhibitors a can’t-miss edge with high-definition 3D holograms that project products, logos, and messages in mid-air, capturing attention, sparking conversations, and driving leads from every angle.
Benefits for Your Exhibitors:
Fully turnkey, we handle delivery, setup, content, and teardown—so exhibitors focus on selling, not setup.
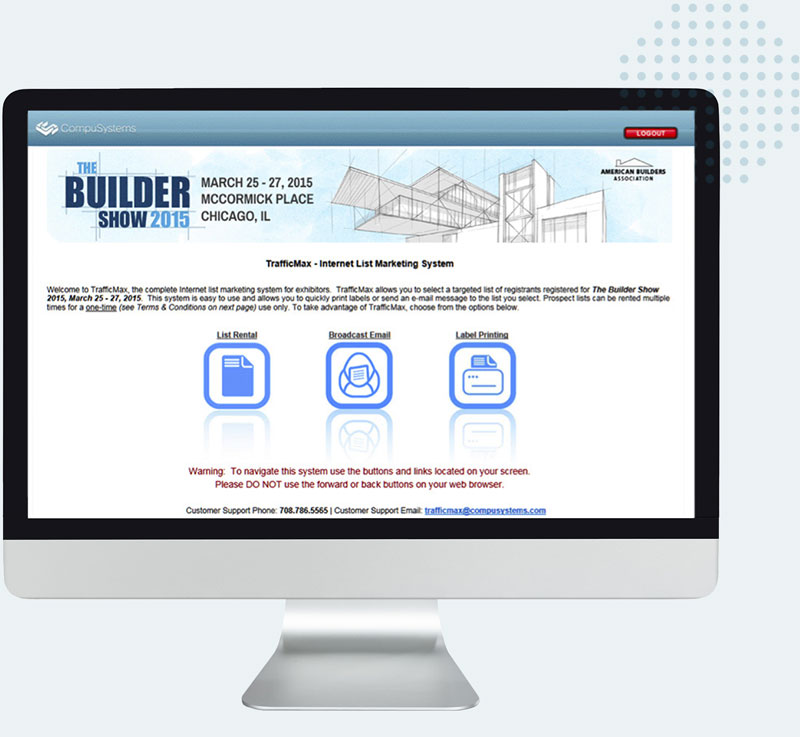
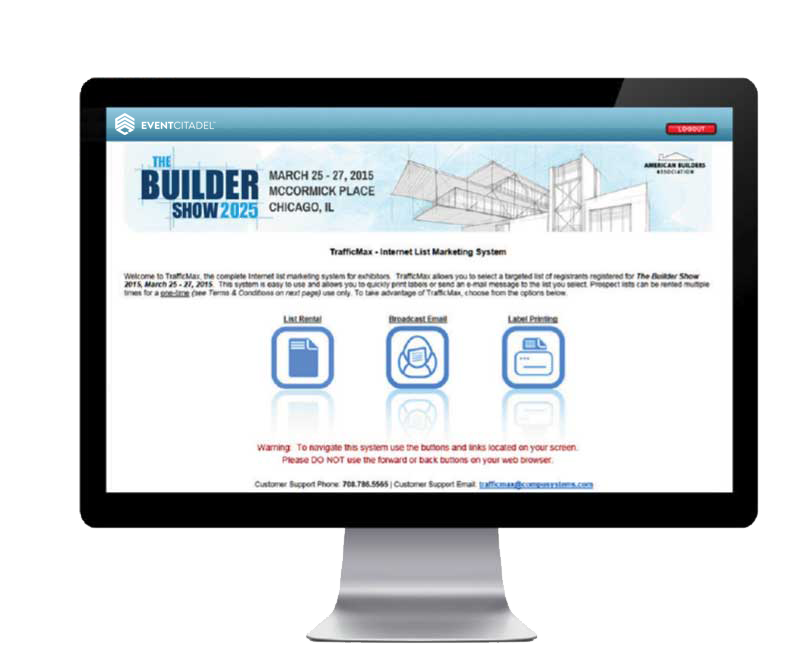
Attendee List Marketing
TrafficMax
Use this online attendance list rental and marketing system to help you drive qualified buyers to your booth, promote your presence at the show and follow-up post-show.
ATTENDEE LIST RENTAL: Mine the attendee data to create a targeted list for marketing purposes.
BROADCAST EMAIL: Create and send a broadcast email to the targeted attendee list you select.
LABEL PRINTING: View and print mailing labels in PDF format for the list you select.
BENEFITS:
Call 708.786.5565
Attendee List Marketing
TrafficMax
Use this online attendance list rental and marketing system to help you drive qualified buyers to your booth, promote your presence at the show and follow-up post-show.
ATTENDEE LIST RENTAL: Mine the attendee data to create a targeted list for marketing purposes.
BROADCAST EMAIL: Create and send a broadcast email to the targeted attendee list you select.
LABEL PRINTING: View and print mailing labels in PDF format for the list you select.
BENEFITS:
708.786.5565